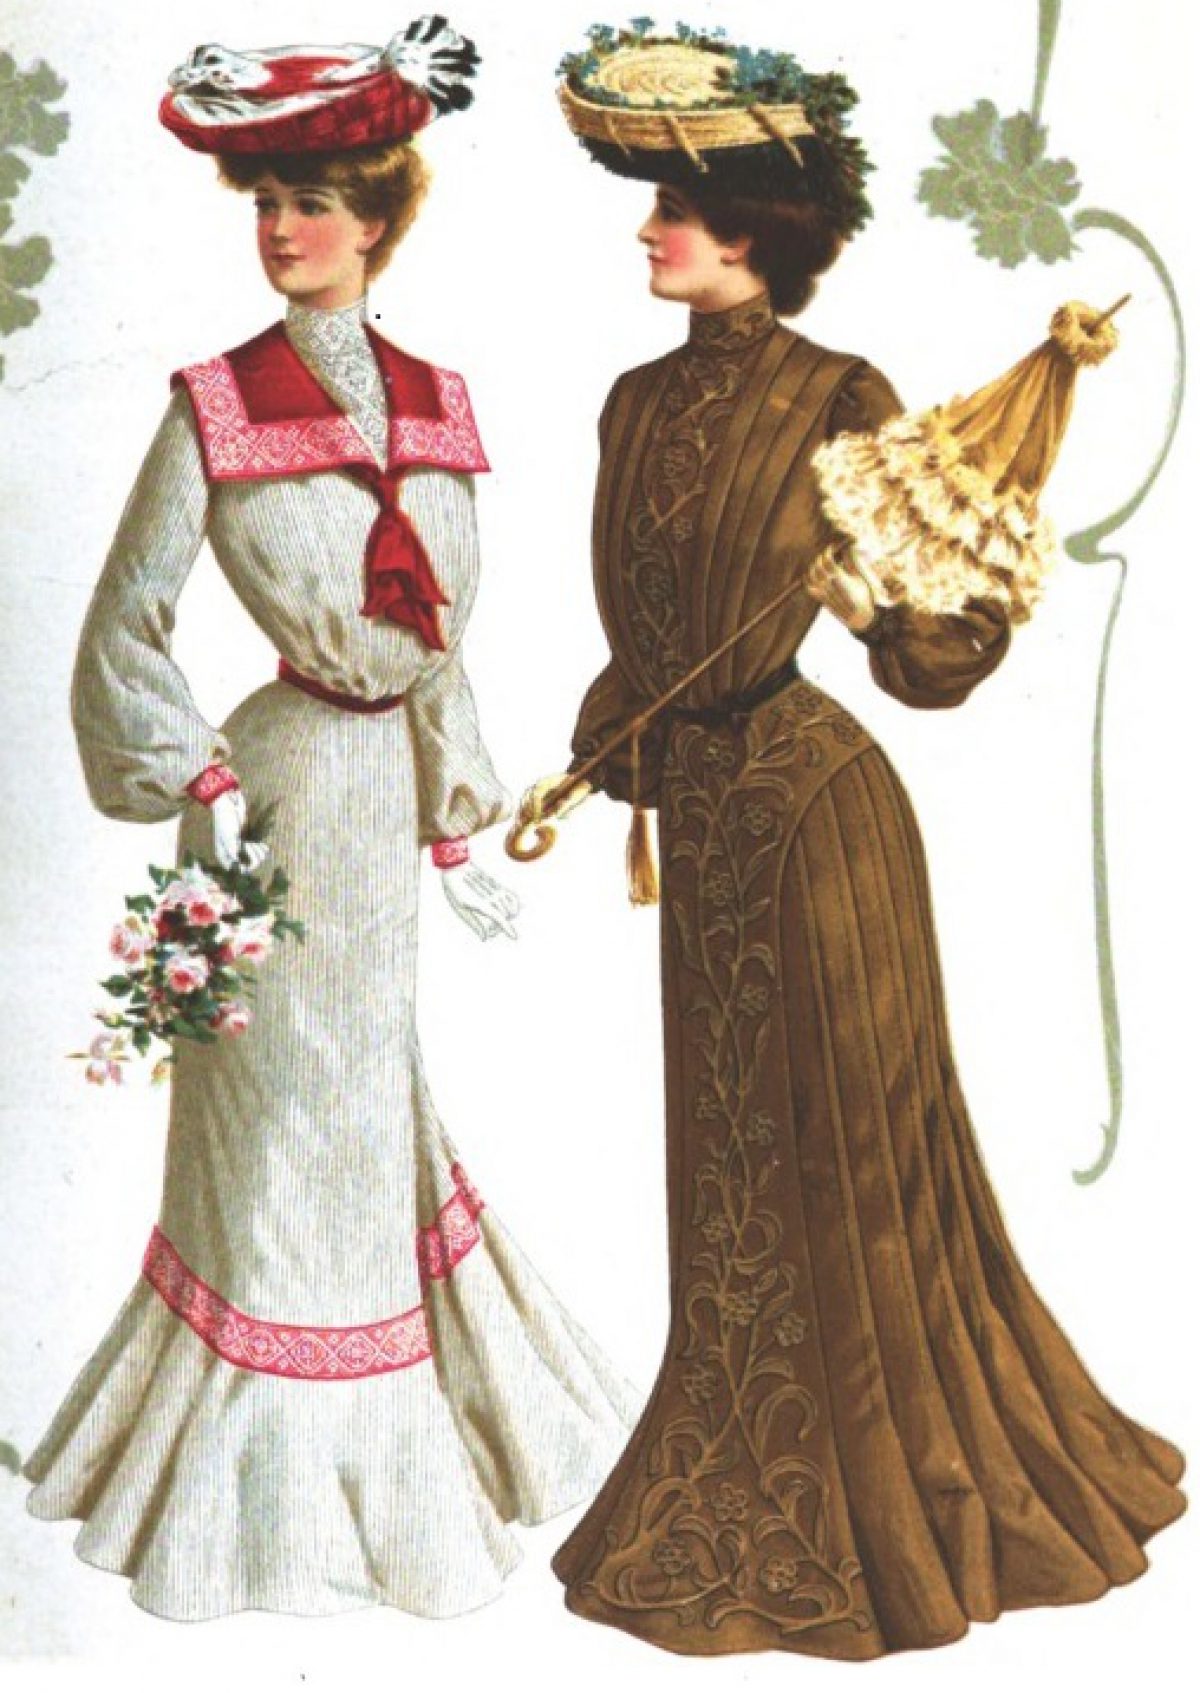
I’ve been constructing a late 1890’s dress for my sister over the past year, and this summer I finished her top petticoat and hand sewed a corset cover to match.
Supplies for Petticoat: 100% stiffened cotton organdy from vogue fabrics, DMC cotton embroidery floss (I read somewhere that this kind of floss was available back in the early 1890’s), and 100% cotton thread. Pattern: Truly Victorian #170
Supplies for Corset Cover: 100% cotton lawn from Renaissance fabrics, DMC cotton embroidery floss, 100% cotton thread, beeswax, vintage lace my grandmother gave me, vintage mother of pearl button. Pattern:Past Patterns #108
I made the petticoat first. After reading Jennifer Rosbrugh’s post about The Costumer’s Dream Fabric I decided to take the plunge and try organdy. I loved working with it. When I received the fabric it was really stiff, but after washing it it was just slightly stiff. It’s not stiff enough for what I want so I’ll probably starch the petticoat anyway. The embroidery is done by hand and I came up with the design after watching some youtube videos on different stitches. The petticoat is also hand finished, I even spent a whole day hand hemming the 28 ft. hem.
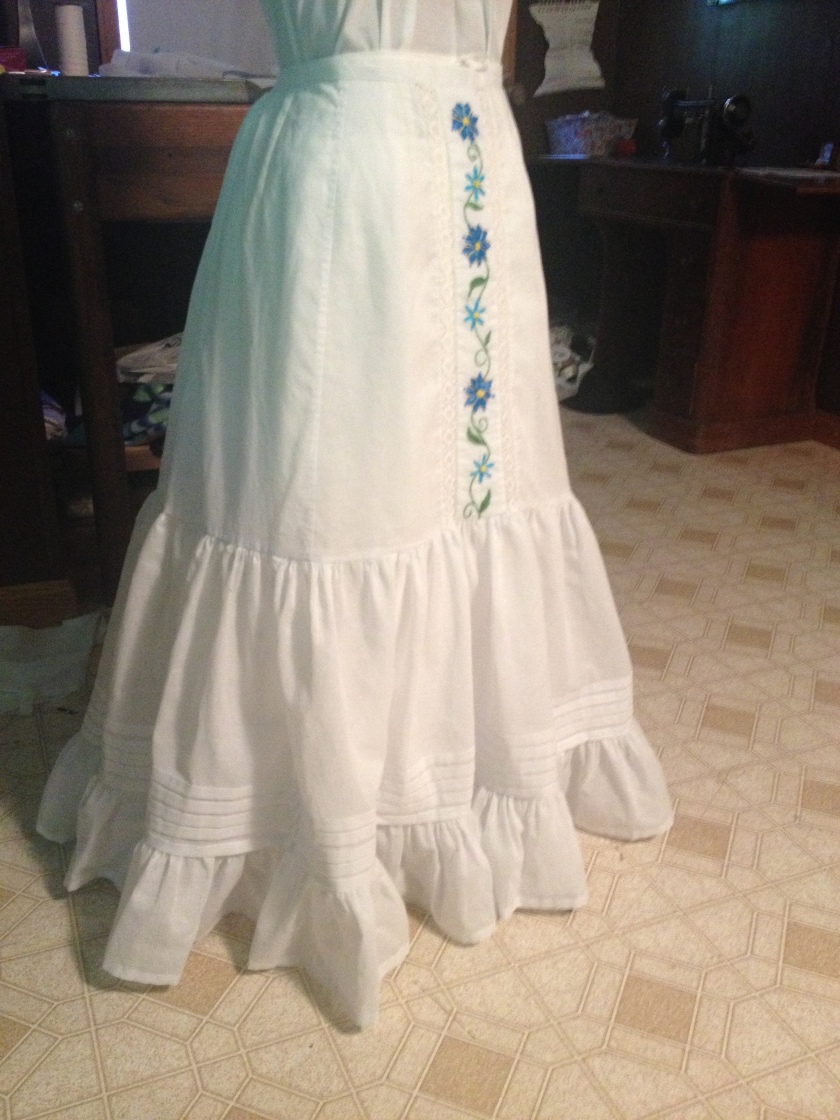
The Finished Project

Close up of the Embroidery

The corset cover came next. I used view A. The embroidery was a lot of fun to do and was well explained in the instructions. I had a few questions about the assembly of the garment and it was wonderful that Saundra Altman was always ready to answer a question over the phone or through email. She explained things very clearly and was extremely helpful! The instructions said that the most historically accurate way to sew the garment was by hand, so I did. It took me about two weeks sewing about 2-4 hours a day. After I completed it I entered the corset cover and petticoat in the Crawford County Fair competition and won first place.
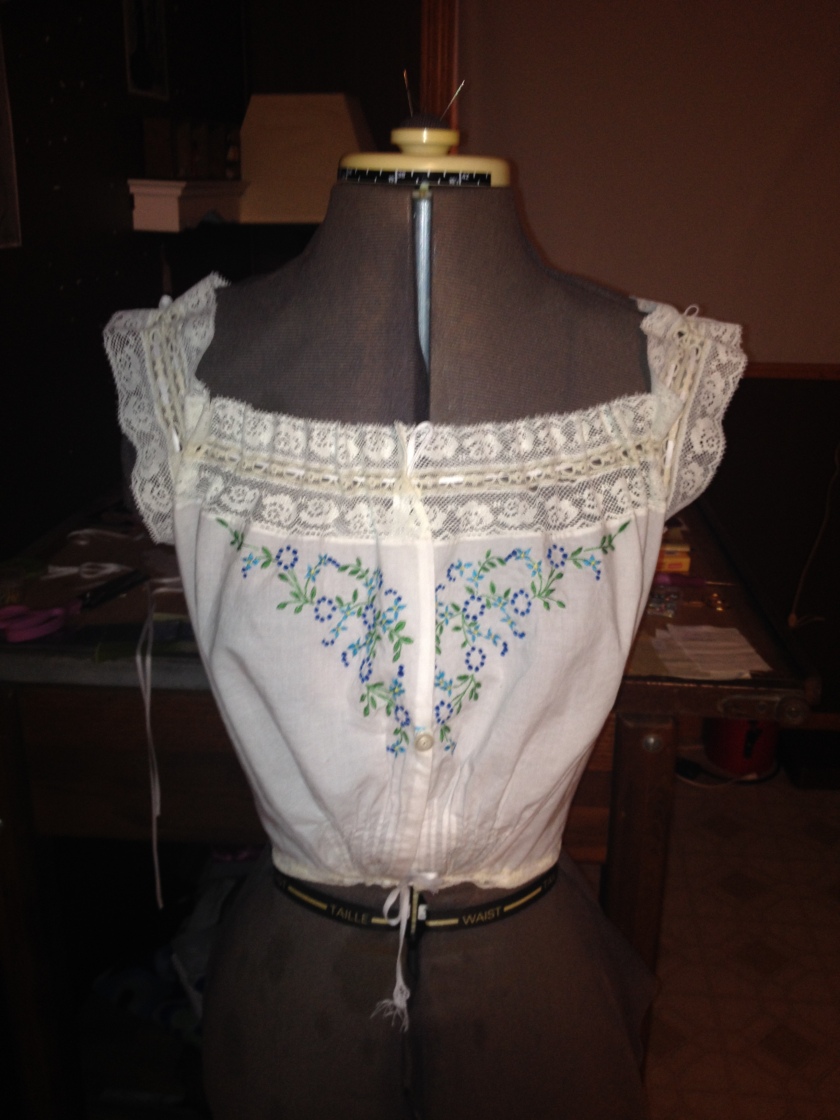
The Front: The corset cover doesn’t fill out into a pigeon breast on the mannequin like it would on a real person.

The back: You can just see the 9 pin tucks down the back. Again it doesn’t sit well on the mannequin.

Close up on Embroidery: Those are real eyelets
I had so much fun making these two garments. I learned the joy of hand sewing and embroidery.

A lovely petticoat! And I love the embroidery. 🙂
LikeLike
Thank you! I took your undergarments class and this is the petticoat I made for it. Thank you so much for putting classes out there that teach beginners like me! How did you find my blog? I was afraid that no one would find it!
LikeLike